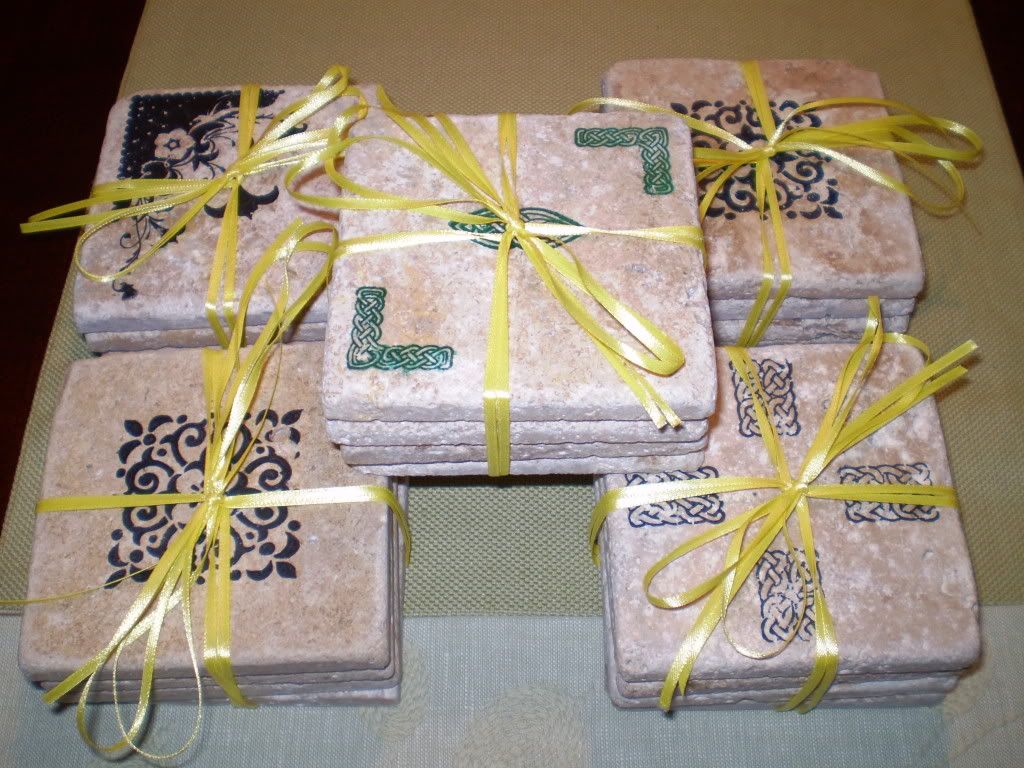
Supplies
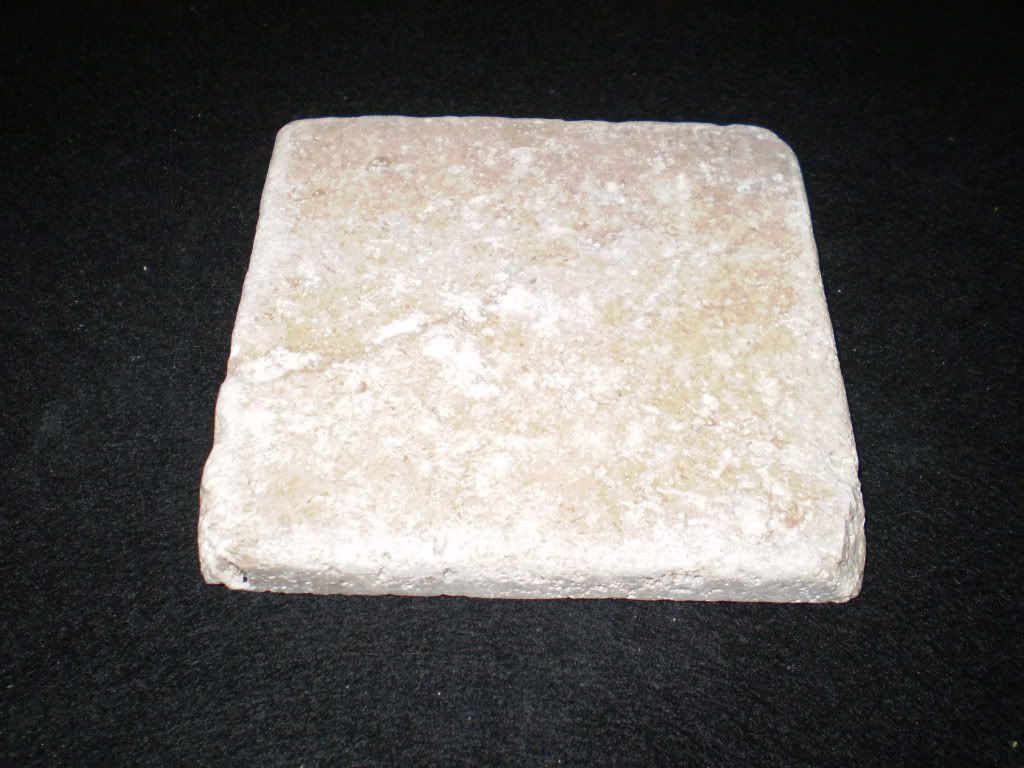
4 x 4 tiles {You can get these at Lowe's or Home Depot from 35 cents a piece and up}
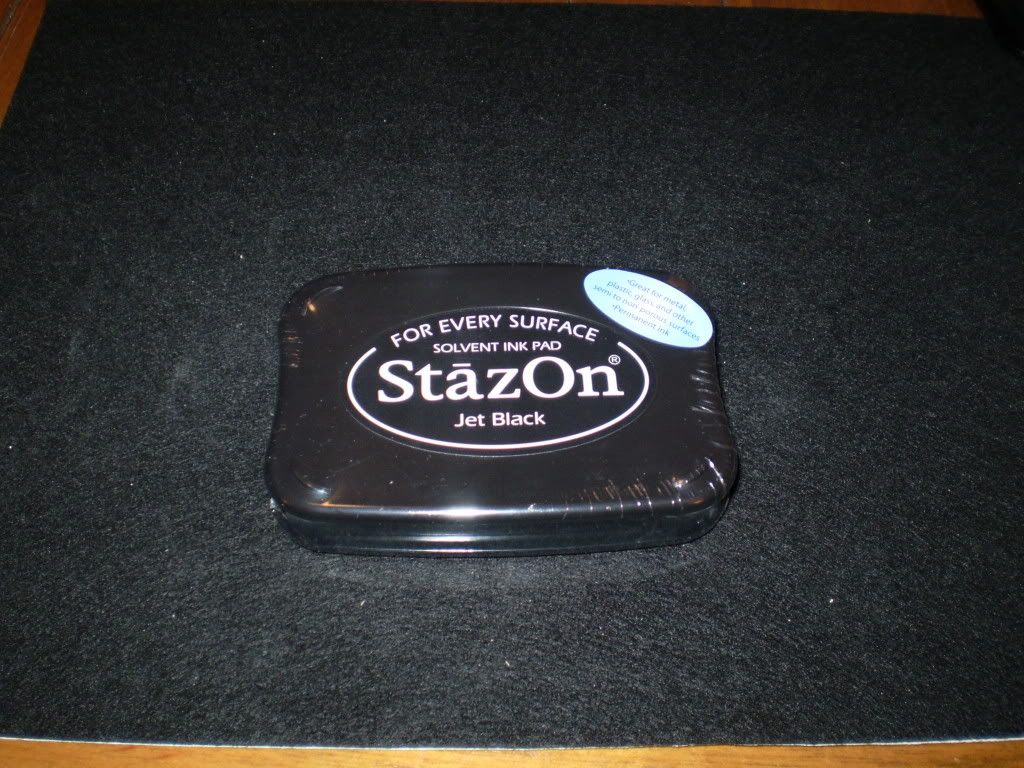
StazOn Stamping Ink {Permanent stamping ink}
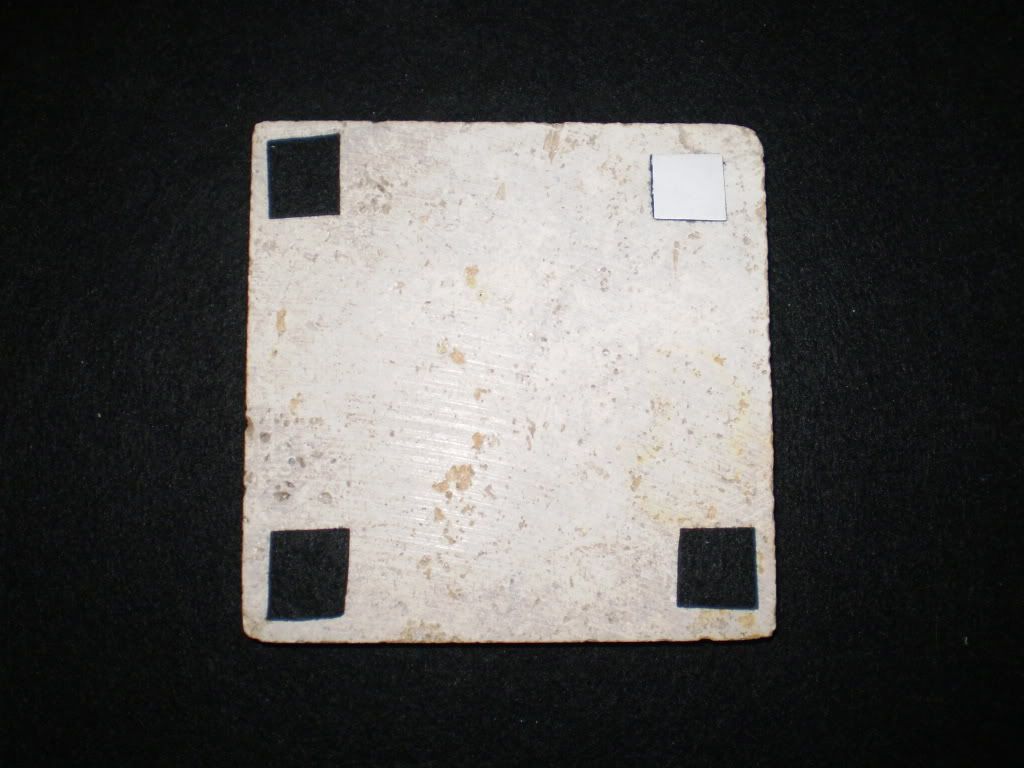
Self Adhesive Felt {Find at Wal-Mart or any hardware store - I used the ones that go on chair legs}
Stamps
Sealer {I used a matte finish poly spray}
Directions
1. Rinse and dry tiles.
2. Place dry tile in center of your work area.
 3. Select your stamp color.
 4. Select your stamp.
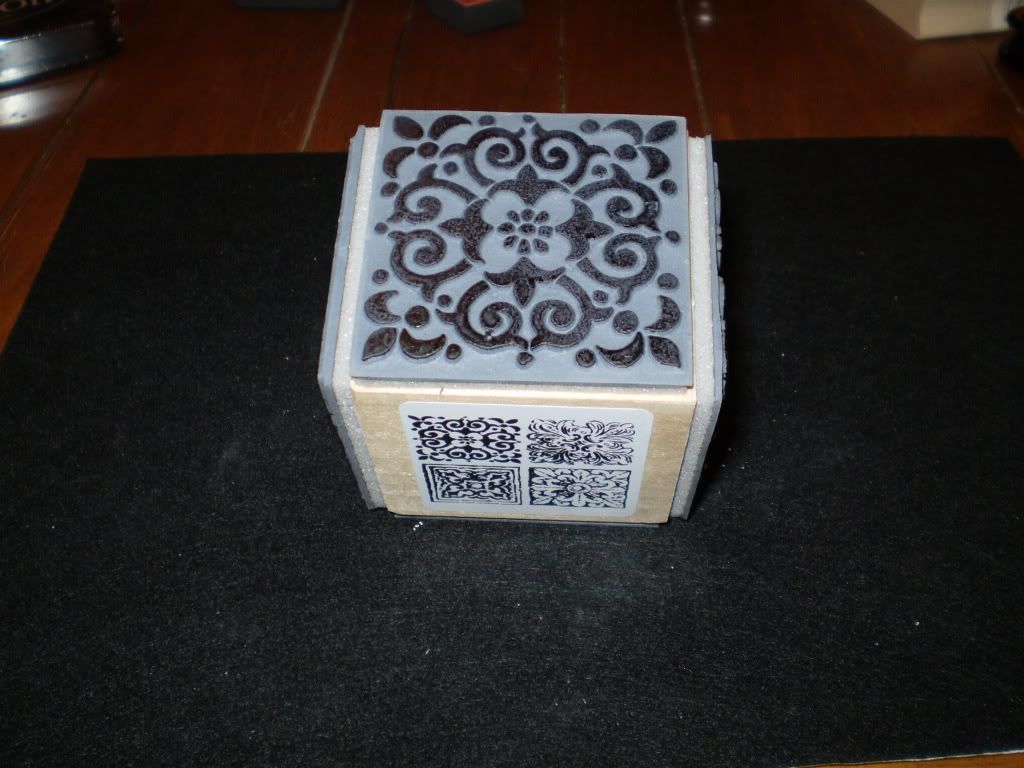
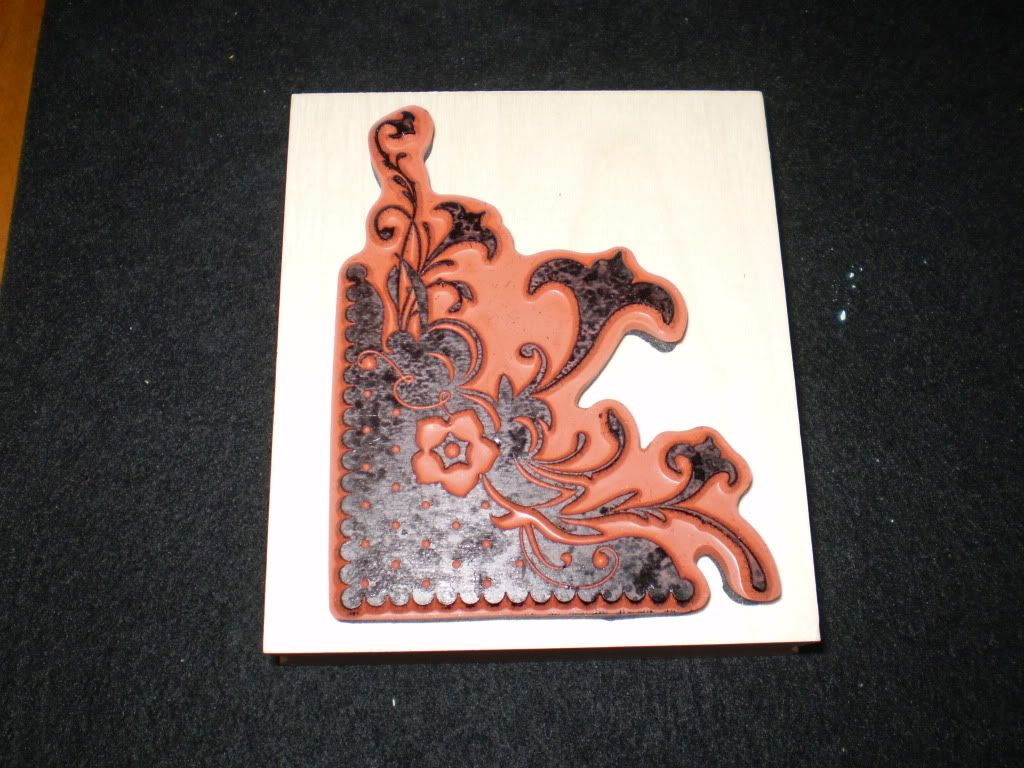
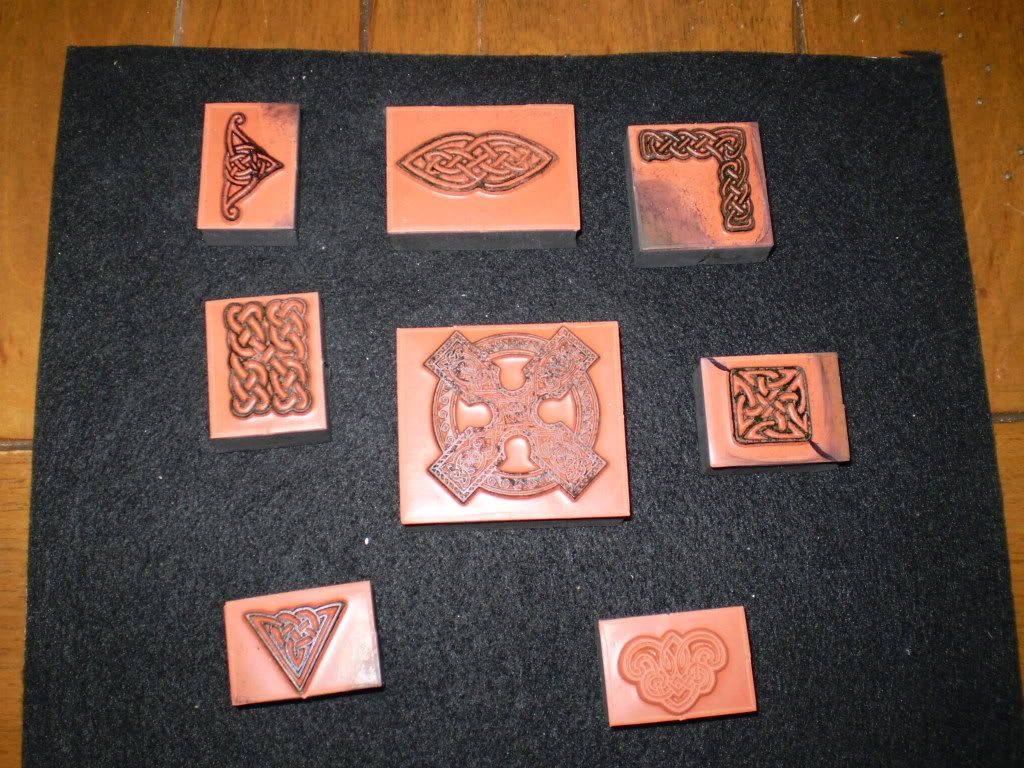 5. Ink entire image, taking care to wipe off any excess that may have gotten on the edges of the stamp.
6. Line up stamp and press stamp with steady pressure onto tile.
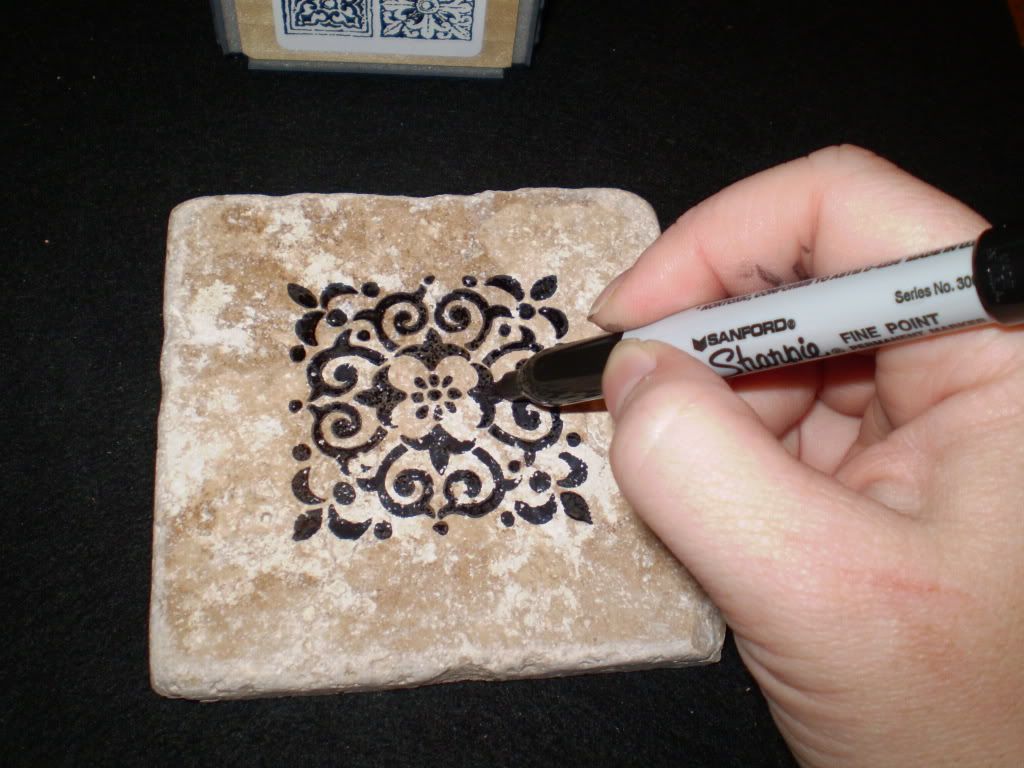
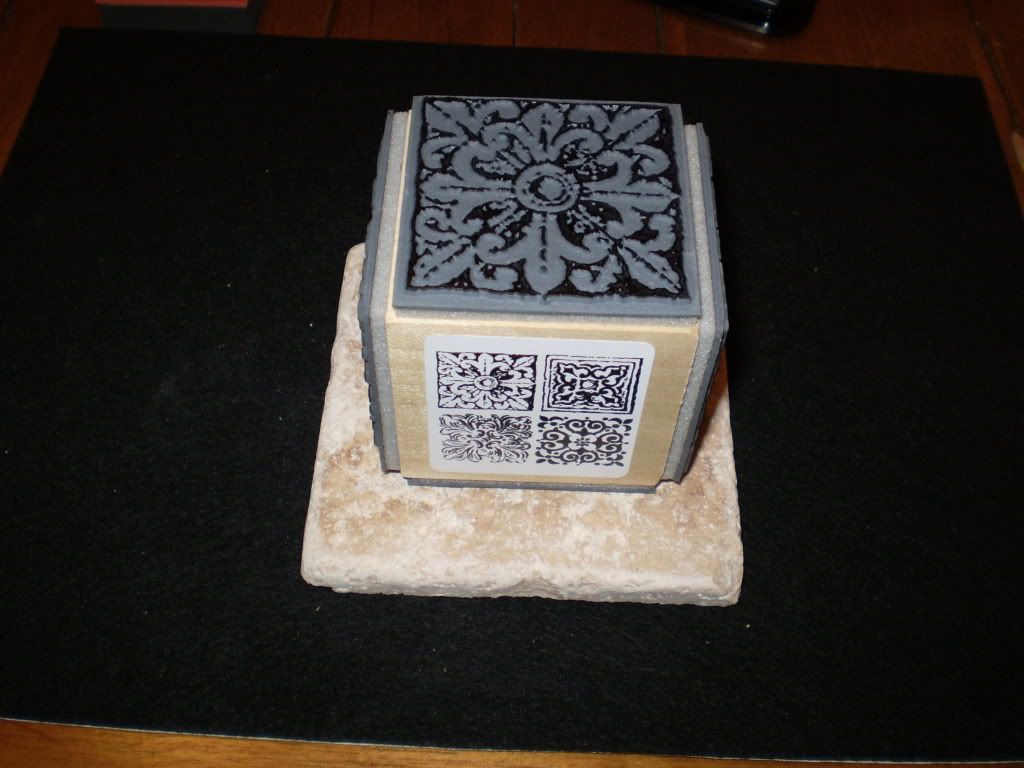 7. Fill in any spaces in the image on the tile with permanent marker of the same color.
 8. Let ink dry for 5 to 10 minutes, then place tile onto a cookie sheet and place in oven preheated to 375 degrees for 12-15 minutes. You can also let these stand over night for the same effect.
9. Let cool completely.
10. Spray with sealer and let dry completely.
11. Place pieces of self adhesive felt to the bottom of the tile.
 12. Tie coasters together with ribbon for gift giving.


.jpg)





1 comment:
Super cute and a really good idea.
Post a Comment