

.jpg)


It's time again for Tutorial Tuesday, this one comes courtesy of Tania at what'chu talkin' 'bout willis? She has numerous free tutorials that are fabulous, fun for the whole family, and easy! This idea is great for recycling and reusing those items you already have at home. I think these are also great for little hands that can't quite hold a normal crayon yet!
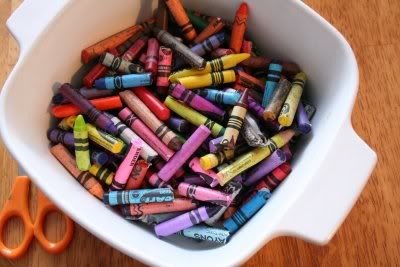
Begin by sorting through the crayon box and gather all the broken ones. (I suppose you can buy a new box of crayons if you don't have broken ones)
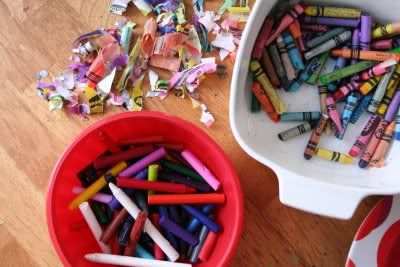
Holler for the troops to join you for peeling duty. It's way more fun to have helpers, otherwise you might abandon craft before the task is complete.

Pile the peeled ones into a new container so you can watch your unpeeled pile dwindle and your peeled pile multiply. {Kids like to see the progress they've made}
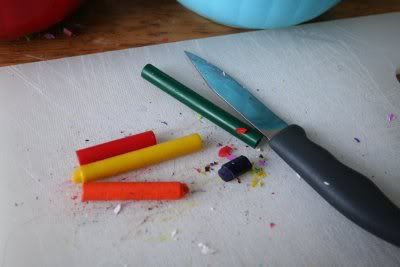
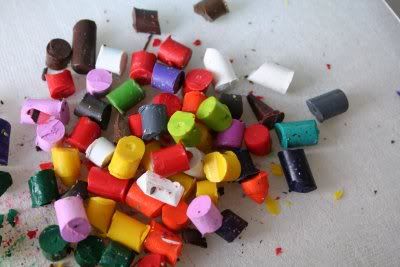
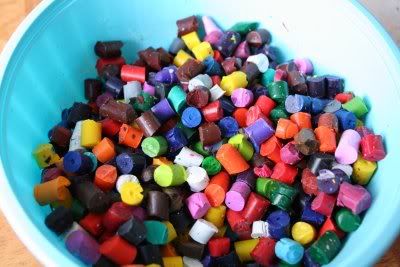
Parent Job: Using a cutting board and sharp knife, cut crayons into 1/4" pieces. doesn't have to be exactly 1/4". {Tip: Taria recommends purchasing a cutting board from the dollar store to devote only for crafting so you don't ruin your kitchen cutting board}
A little side note...this is best if done with the same brand of crayon since some crayons contain a higher content of wax/parafin. "Cheap" crayons tend to separate color from parafin and all the parafin rises to the top leaving a transparent film on top.
Another little tip: if you eat out with kids, you know they always give you crayons to keep them busy at the table. Bring them home with you -start a container at home and before long you'll have plenty to complete this project.
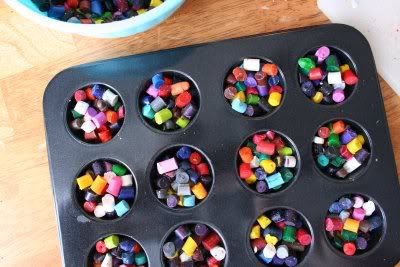
Taria likes to use a mini-muffin tin - they are just the right size for a child's hand. Really though, any kind of oven-safe tin will work. Fill up the tin, making sure your crayons are level with the pan, OR below. DON'T pile them higher than level with the top surface or they will melt everywhere, including into the bottom of your oven.
Heat them for 20 to 25 minutes at 175 degrees. Remove to cooling rack.
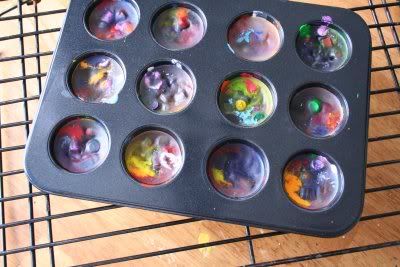
Allow to cool until they've set back up. about an hour or two. Then pop the whole tray in the freezer for 15 minutes. This will allow them to pull away from the edge of the pan and when you flip them over they fall right out. NO MESS!
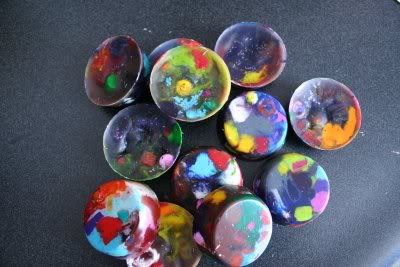
The pile of crayons you see in the blue bowl ended up making 21 rainbow crayons. A few broken crayons go a long way.
Adorable and FREE!
**********************************************************************
If you'd like to be featured on Tutorial Tuesday, contact me for details!
Begin by sorting through the crayon box and gather all the broken ones. (I suppose you can buy a new box of crayons if you don't have broken ones)

Holler for the troops to join you for peeling duty. It's way more fun to have helpers, otherwise you might abandon craft before the task is complete.

Pile the peeled ones into a new container so you can watch your unpeeled pile dwindle and your peeled pile multiply. {Kids like to see the progress they've made}

Parent Job: Using a cutting board and sharp knife, cut crayons into 1/4" pieces. doesn't have to be exactly 1/4". {Tip: Taria recommends purchasing a cutting board from the dollar store to devote only for crafting so you don't ruin your kitchen cutting board}


A little side note...this is best if done with the same brand of crayon since some crayons contain a higher content of wax/parafin. "Cheap" crayons tend to separate color from parafin and all the parafin rises to the top leaving a transparent film on top.
Another little tip: if you eat out with kids, you know they always give you crayons to keep them busy at the table. Bring them home with you -start a container at home and before long you'll have plenty to complete this project.

Taria likes to use a mini-muffin tin - they are just the right size for a child's hand. Really though, any kind of oven-safe tin will work. Fill up the tin, making sure your crayons are level with the pan, OR below. DON'T pile them higher than level with the top surface or they will melt everywhere, including into the bottom of your oven.

Heat them for 20 to 25 minutes at 175 degrees. Remove to cooling rack.

Allow to cool until they've set back up. about an hour or two. Then pop the whole tray in the freezer for 15 minutes. This will allow them to pull away from the edge of the pan and when you flip them over they fall right out. NO MESS!

The pile of crayons you see in the blue bowl ended up making 21 rainbow crayons. A few broken crayons go a long way.
Adorable and FREE!
**********************************************************************
If you'd like to be featured on Tutorial Tuesday, contact me for details!


1 comment:
YES! I am going to do this will all of the crayons in the Nursery! Then I only have to give each child ONE crayon!
Post a Comment